Every buyer who purchases a portable sports floor eventually faces the same two questions: how do we install it quickly and correctly, and how do we store it between events without damaging it? These are practical questions, but they carry real commercial weight. An event company that cannot assemble a court on schedule loses bookings. A school facility team that stores panels badly shortens the life of an expensive asset. This guide walks through the entire cycle — from site survey to final court check, from take-down to the storage rack — based on how modular hardwood systems like the NBfloor H500 Portable Assembled System are actually designed to be handled. The goal is simple: after reading it, installation and storage should feel like routine work rather than a risk.
1. Start With a Site Survey and Substrate Check
Before a single panel is unloaded, someone should walk the venue and confirm the floor can be laid there at all. Portable hardwood systems are not self-levelling. They are laid over a flat, dry substrate with no permanent fixing, which means the quality of the finished court depends directly on the quality of what is underneath it.
- Flatness. Walk the area and look for dips, crowns, and patchy repairs. Small irregularities that are invisible to the eye can show up as rocking panels or visible steps at joints. If you can feel a variation underfoot while walking the space, the panel above it will feel worse.
- Dryness. Concrete slabs must be cured and dry. A slab that is still releasing moisture will affect the underside of the system — the rubber cushion layer and the larch battens — and can cause cupping or movement over the life of the event.
- Cleanliness. Sweep and, where possible, vacuum the substrate. Grit trapped under a rubber cushion layer telegraphs through as soft spots and noise.
- Access. Measure doorways, lifts, ramps, and the route from the loading bay to the court area. A panel that fits the court easily can still be impossible to move through a 90-degree corridor turn with a pallet jack.
- Overhead clearance. Basketball needs far more clearance than just the playing surface height. Confirm hoops, scoreboards, and lighting rigs can be used or adjusted around the court footprint.
Photograph the site during the survey. If the client's expectations and the substrate condition do not match — for example, an old sports hall floor that is genuinely uneven — you want a record of what was agreed before the crew arrives. Most installation disputes trace back to a skipped survey, not to the floor itself.
2. Delivery, Panel Handling, and Crew Planning
A standard basketball court laid with the H500 system takes roughly five hours with a crew of four to six people. That figure assumes the delivery is staged sensibly and the crew knows the sequence before they start. Poor staging is the most common reason a five-hour install becomes a nine-hour install.
Plan the delivery so panels arrive as close as practical to the court area, in the order they will be used. Modular panels are heavy but manageable with two people using panel dollies or suction lifters; they should not be thrown, dragged across concrete, or stacked on edge. Assign one person as the layout lead who is not carrying panels — their job is to keep the sequence moving, check joints as rows close, and solve problems while the crew works rather than after.
Confirm the court dimensions and any non-standard boundaries with the client in advance. Court markings are applied to order on NBfloor systems, so the painted lines arrive on the panels; but the crew still needs to know the exact court footprint, including run-off areas, before the first row goes down. A court that starts one panel width off-center ends with unequal run-off, and the only fix is to start again.
3. Step-by-Step Installation of a Portable Court
The sequence below reflects a typical temporary basketball court installation with a modular system such as the H500. The exact panel count and row layout will vary with the venue, but the order of operations does not.
Done this way, a full basketball court is comfortably a one-day job with time to spare, and a practiced crew gets close to the five-hour benchmark. The first install with a new crew will take longer; that is normal, and it is why the take-down and storage routine below matters just as much as the assembly routine.
4. Court Markings on Modular Systems
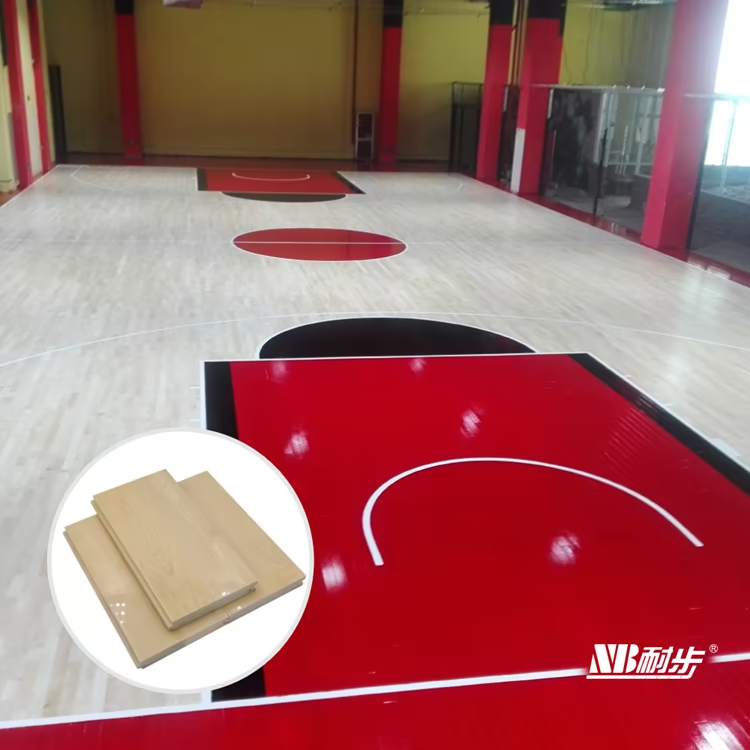
Because NBfloor applies court markings to order, the lines are part of the panel surface when the floor arrives — they are not taped or painted on site. This has three practical consequences for installers.
First, ordering must be final before production: court dimensions, line colors, and any sponsor or multi-sport layouts need to be confirmed at order time, not at delivery. If you are unsure about a layout, this is exactly the kind of detail to settle during the quotation stage — the process described in how to get an accurate sports flooring quote covers what to have ready before you request pricing.
Second, the crew does not need a line-painting crew or drying time on site. A court can go from delivery to playable in a single day, which is one of the genuine advantages of a portable assembled system over site-finished floors.
Third, panels with line intersections are position-critical. During take-down (section 6), marked edge panels should be kept identifiable so the court reassembles with its lines in the right relationship to each other. Labels do this cheaply and reliably.
5. The Take-Down Sequence
Take-down is assembly in reverse, with one extra discipline: the panels go into storage in a state that makes the next install fast. Rushed take-downs are the single biggest source of damaged connectors and lost time at the next event.
- Remove equipment first. Hoops, nets, and anything bolted or clamped to the surface come out before panels move.
- Work from the last row back to the reference row. Panels lift out of the snake-spring connectors; they are not levered apart with tools, which deforms the connector seats.
- Keep rows together where possible. As panels come up, stage them in row order on dollies. A court that goes back into storage row by row is faster to relayout than a pallet of mixed panels.
- Label as you go. A simple numbering scheme — row and position — on the panel underside or edge turns the next installation into a matching exercise rather than a puzzle. Edge and cut panels get their own labeled group.
- Inspect at the moment of handling. Every panel is in someone's hands during take-down; that is the moment to notice a delaminating edge, a loose connector, or lacquer wear, not six weeks later when the pallet is opened at the next venue.
- Log damage immediately. One panel noted and set aside for service is a ten-minute job. One panel discovered mid-install is a gap in your court.
6. Storage and Transport Best Practices
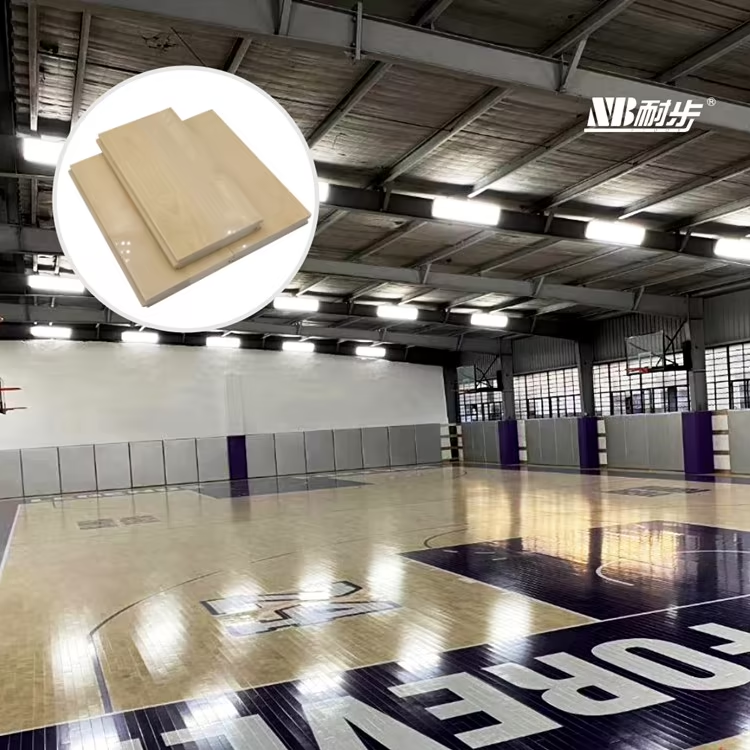
Portable floor storage is where systems either last a decade or quietly degrade in a corner of a warehouse. The construction of the H500 and H600 — solid hardwood top over larch LVL battens and a rubber cushion layer — is robust, but wood is still wood, and storage conditions matter.
Stack flat and supported. Panels store flat on pallets or racks, evenly supported so no panel carries a bend. Stacking on edge warps panels over time; stacking flat without full-length support does the same more slowly. Keep stacks at a manageable height — the limit is what your handling equipment and floor loading can safely take, and what the bottom panels can carry without compression set in the cushion layer.
Control the climate. Store panels in an enclosed, dry space with stable humidity. A hall that swings from damp to dry across the seasons will move solid hardwood far more than a conditioned store. Never store panels against exterior walls that sweat, near loading doors that sit open, or outdoors under tarpaulins — tarpaulins trap condensation against the lacquer and edges.
Protect the lacquer. The 95° high-gloss lacquer on systems like the H500 is the playing surface's wear layer. Interleave between stacked panels where faces could rub, and keep straps off panel faces — strap edges across a lacquered face leave permanent lines.
Transport in closed vehicles or containers. For travelling courts and event venues, panels travel flat, strapped in bundles that are padded, in a dry vehicle. Load so bundles cannot shift, and never stack other equipment on top of floor bundles. For frequent cross-border or multi-venue programs, planning the container or truck layout in advance is worth an hour: a well-packed load is also a fast unload at the far end. If you are budgeting this kind of program, portable basketball court cost for 2026 breaks down the numbers including logistics.
Store connectors and hardware labeled. Snake-spring connectors, edge trims, and any tools travel in dedicated labeled boxes. Half the "missing parts" calls in this industry are really "parts in an unlabeled box somewhere" calls.
7. Common Installation Mistakes and How to Avoid Them
Most problems on portable hardwood courts trace to a short list of avoidable errors.
- Laying on an unsuitable substrate. Skipping the survey, or proceeding on a slab the survey flagged, produces courts that rock, click, or show steps. There is no fixing this from above; the court has to come up.
- Dragging panels across laid surface. Sliding a panel across already-laid panels grinds grit into joints and chews lacquer. Panels are lifted in, always.
- Not fully seating connectors. A snake-spring connector that is part-engaged holds until the first hard game, then lets the joint open. The layout lead's job includes confirming every row closed fully.
- Correcting drift too late. Small alignment errors compound row by row. Fix them at row three, not row twenty.
- Wrong edge panel cuts. Cutting field panels to fit an awkward corner destroys line alignment and wastes material. Cuts happen at edges only, from dedicated stock.
- No labels at take-down. The unlabeled court reassembles slowly and with the wrong panel positions — usually discovered after the court is down and the lines do not line up.
- Poor staging at delivery. Panels dumped in one corner of the hall mean every row starts with a long carry. Stage panels near where they will be laid.
None of these require specialist skill — they require a sequence, a lead, and the discipline to follow it. That is what the step list in section 3 exists to enforce.
8. Maintenance Between Uses
A portable floor in regular use needs a lighter maintenance routine than a permanent floor, but it needs it consistently. The basics are covered in detail in maintaining a wooden sports floor; for a system that comes up and goes down, add these cycle-specific habits.
- Dust-mop after every event. Grit left on a stored panel becomes grit in a joint at the next install. Five minutes of dust-mopping at take-down protects the lacquer for the whole season.
- Dry storage only. Never store panels damp. If a panel comes up wet — after a venue flood, heavy condensation, or an over-enthusiastic clean — dry it flat in ventilated space before it goes into a stack.
- Inspect connectors each cycle. Snake-spring connectors are the wear item of an assembled system. A connector that no longer pulls a joint tight gets replaced from spares, not re-bent.
- Watch the high-traffic zones. Key areas — paint lines, the free-throw lanes, the entry run — will show lacquer wear first. Lacquer refresh on a portable system is a workshop job on individual panels, which is exactly why modular construction is an advantage: you service panels, not courts.
- Keep a spares kit. Replacement connectors, a few spare panels, and edge trim travel with the floor. The cost of the kit is trivial; the cost of a court short one panel on event day is not.
9. How Often Can You Assemble and Disassemble?
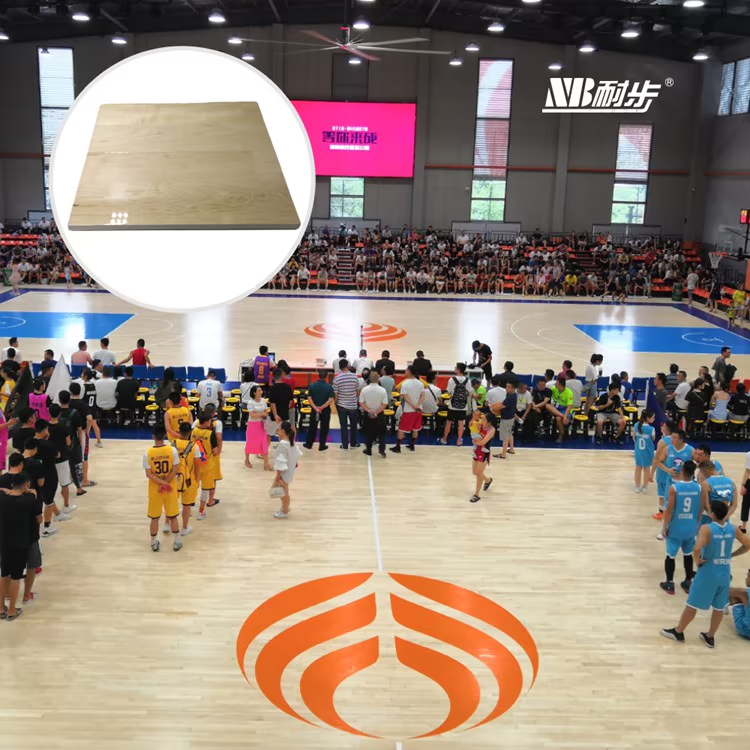
This is the question that separates occasional users from event companies, and it is where the two NBfloor portable systems differ. The H500 Portable Assembled System is a modular portable hardwood system — 20mm solid maple top board over 30mm larch LVL battens and an 18mm rubber cushion layer, held together with snake-spring connectors and Approved Equipment Level 1 (licence WF-05-01). It is built to be installed and removed repeatedly across its life, and for most venues, schools, and rental fleets it is the natural fit.
The H600 Portable Birch System is built specifically for frequent assembly and removal cycles — travelling courts and event venues where the floor may go up and down many times a season. It uses the same build-up (22mm solid birch top over larch LVL battens and rubber cushion, licence WF-05-02), with birch chosen for its toughness under repeated handling. If your business model is dozens of installs a year rather than a handful, the H600 is the system designed around that duty cycle.
Either way, the practical answer to "how often can we cycle it" is: as often as your operation requires, provided the handling discipline above is followed. Systems degrade through bad storage, dragged panels, and abused connectors — not through the act of assembly itself, which the connector design exists to make routine.
One planning note: if a venue eventually decides the floor should become permanent — a school converting a multi-use hall, or a venue adding a dedicated court — the same manufacturer's fixed systems, including the H3035, H3035K, and H3035M, cover permanent installation. The trade-offs between the two approaches are compared in portable vs fixed sports flooring, and the selection logic for portable hardwood specifically is covered in how to choose portable basketball flooring. If you are weighing modular hardwood against plastic tiles for a multi-use space, see modular PP tiles vs hardwood.
Installation and storage are not reasons to hesitate over a portable floor — they are the reason the category exists. A well-run crew with a labeled system, a surveyed substrate, and a dry store can put a competition court down in an afternoon and take it up the same way, event after event. If you want the sequence planned against your specific venues and duty cycle, contact NBfloor or reach us on WhatsApp; quotes are returned within 48 hours, and the full range is available on the products page.
Planning a sports floor project? Send the court dimensions, sports and destination port — we reply with a specification and a price within 48 hours.
Request a Quote